Playing as Yellow Sign
You earn Spellbooks more slowly than other players in the early game, but you should concentrate on obtaining them. Awaken the King in Yellow early (in the first Action Phase). It’s easy to send the King to North America after Desecrating Europe or Asia, but occasionally it’s wiser to get into Africa early and play rough with enemies by Capturing Cultists with the King, or by spreading Zingaya. Many players prefer to migrate straight to Africa or America after Awakening the King, saving the Desecration of Europe or Asia for last.
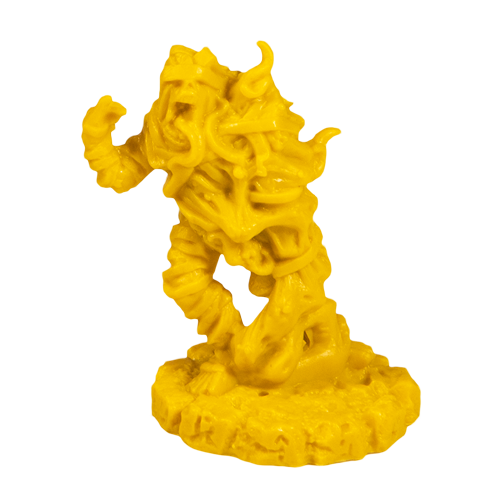
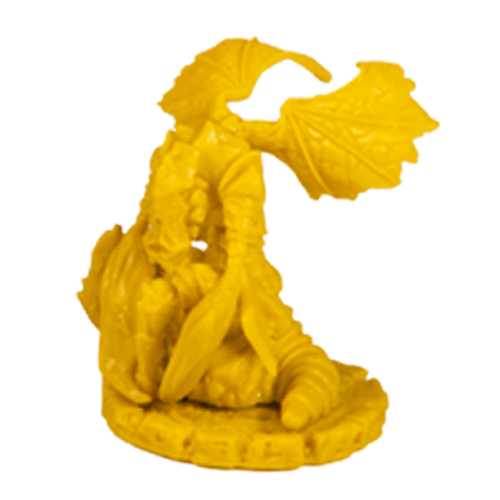
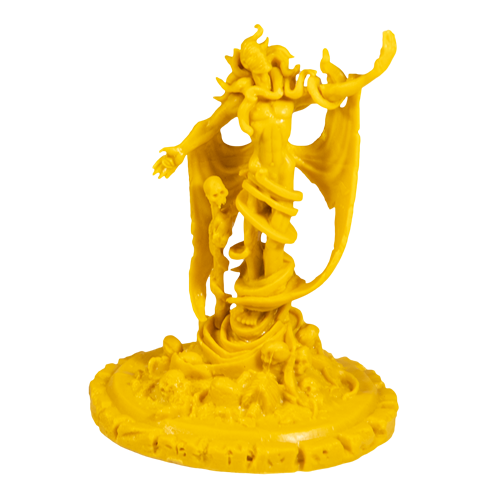
The King in Yellow, despite its lack of Combat, is a nightmare. It moves quickly around the board with its Undead bodyguard, and its ability to take a second Action (with Screaming Dead) means that you can Move into an enemy area and immediately use Zingaya, Capture a Cultist, or Shriek additional Byakhee there in preparation for a devastating attack. You don’t spend much Power on Summoning Monsters (most are generated via Desecration attempts), so focus on other priorities. Remember to leave a trail of Monster “breadcrumbs” behind you, so they can suckle Power from your Desecrations. If an enemy moves to attack you, it will cost them 2 Power (one to move, one to Battle), so the Elimination of a rear guard is no tragedy. Plus, it puts your Monster back into your Pool to be recalled upon the next Desecration or Zingaya.
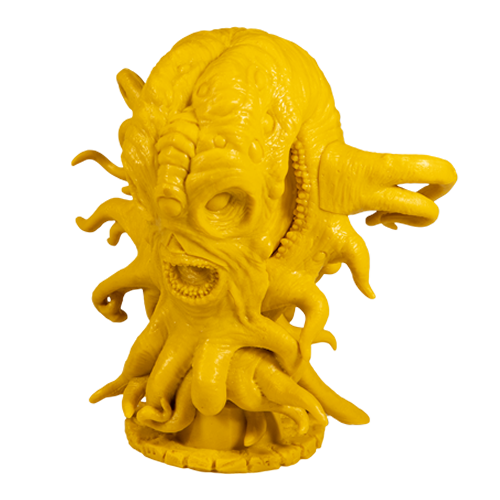
In the late game, you will need to finish your remaining Spellbooks. You will usually have few Gates, so you must rely on Third Eye or your two Great Old Ones for Elder Signs. Thanks to Vengeance, you can ensure the death of an enemy Great Old One once Hastur rolls into action. By this time you should be getting significant Power from Feast, to be used for Rituals or other purposes. With Hastur you now have two choices for your double-Actions: either the King or Hastur can move, and then you can do something else useful. In the late game, Hastur’s signature move is to use He Who Is Not to be Named to enter an enemy’s space, followed by Shriek of the Byakhee to give him a bodyguard, and then declare Battle (Unlimited, with six Spellbooks) to assassinate any other Great Old One.
You are constrained by strange rules, and seem to be playing your own separate game. However, in doing so you plunge the other players into a living nightmare. You leave a trail of scattered Units across the map, forcing foes to spend an inordinate amount of time and energy to expunge your traces. You are nomadic, with no real home base, and you leave ruin in your wake. You get Actions more quickly than other players, and you can often do two things on the same turn, which gives you a flexibility no one else has. Your Units are weak, but they are numerous and usually free, making you resistant to loss. In effect, you can’t dish it out but you sure can take it.
He Who is Not to be Named
The basic function is to assassinate an opposing Great Old One, but it has other uses which become obvious with experience. Remember that the extra Action does not have to involve Hastur.
Passion
Can actually “resurrect” you when out of Power. It also hinders your foes (i.e., they may choose to attack someone else rather than give you Power).
Screaming Dead
You’ll use this a LOT, so don’t dawdle in obtaining it. It needn’t be the first Spellbook you acquire, but neither should it be the last.
Shriek of the Byakhee
Flexible, and gives both defense and offense. Shriek when an enemy invades, or after Screaming Dead or He Who is Not to be Named to give some ‘oomph’ to your Great Old Ones.
Third Eye
Once you finish earning Spellbooks, Third Eye keeps you interested in Desecrating. In effect, you get an Elder Sign for 2 Power (one to move and one to Desecrate), and at the same time you earn a potential power source and a new Monster. It’s the best bargain in the game!
Zingaya
The biggest problem with Desecration is mustering your troops. With Zingaya you not only get a Unit, but your enemy will also find himself down a Cultist.
Thwarting the Yellow Sign
If you are playing against Yellow Sign, remember that their Monsters are puny. Because they are also numerous, you will need to attack them more than once to knock them out of an Area, but at least you don’t have to fear serious losses. Third Eye is terrifying, but they need both of their Great Old Ones out, plus enough Monsters to succeed at Desecration. Thus, you have many tools with which to stop them.
One of Yellow Sign’s oddities is that they tend to have too many Cultists sitting around in Europe; he is benefited by losing a few of them early game, so that he can use the King to bring them forth around the world. So, to cause the most damage, don’t hit Europe but rather strike at the King itself. You are unlikely to Kill the King, but just scattering Yellow Sign’s zombie army really hurts.
Yellow Sign has plenty of weak pseudo-bases (in the form of Desecration Tokens) scattered around the Map. You can’t spend all your time attacking Units Feasting on these, but you should do so when it is convenient.
Yellow Sign is constrained by their need to Desecrate certain Areas. If you can keep him out of, say, Africa or the Americas, you stop its progress. This is easier said than done, but with each turn you delay their advance, the more desperate they get.
Note:
Yellow Sign’s The Screaming Dead and He Who is Not to be Named Spellbooks, which give that Faction two Actions in a row, do not prevent an Ongoing special ability from being used in between those two Actions.
